
How To Build A Midi Controller With Arduino
In the past we have built a homemade midi controller using the Makey-Makey and Brain Jr. Today we will be using the Arduino.
If you don’t already know by now, an Arduino is the most popular electronic building platform. It has been used for hobby purposes, prototyping purposes, and even commercial purposes!
An Arduino has to be one of the most versatile platforms for building a midi controller. This article will be a detailed guide on creating your first controller with the Arduino.
Recommended course: The DIY MIDI Controller Course. If you want to become a master at making your own custom controller, this is the course for you! Packed with 11 action-packed modules that include downloadable images, schematics, sample code, and libraries. Even if you’re a hobby musician that doesn’t know anything about circuitry or programming, this course breaks it down to an understandable sense.
UPDATE: Important Message From The Author
I REALLY want to make it easy for anyone to build their own midi controllers. I am currently thinking about writing the ultimate beginners guide, complete with step-by-step instructions and high quality pictures.
If you want this book to get created, show your support by visiting this page and opting in to receive updates. After you do so, you’ll be brought to a page where you can leave your feedback and questions for the book.
Update: We launched as a course!
Thank you!
-Doug (Founder and Content Curator of MidiLifestyle.com)
How To Build A Midi Controller
This DIY midi controller will be very basic. It will output midi notes that will play in a sequence. For this basic project we won’t be adding any buttons or knobs YET.
Stay tuned for a new article where we will be adding buttons and knobs!
What You’ll Need:

– An Arduino Uno – When buying an Arduino Uno, you have two options. You can buy the the Arduino itself for $25, or you could get the whole starter kit for $55. I would recommend the starter kit because it comes with useful components and includes an instruction book that goes over basic circuits.

– A Midi Jack – A midi jack has 5 pins on it. We will only be using 3. We’ll talk about this later.
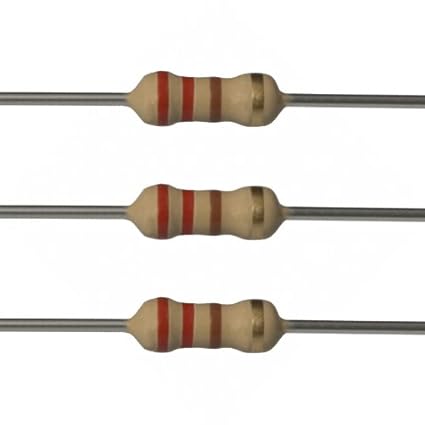
– 1x 220 ohm resistor – The resistor will limit the voltage coming straight out of the 5v port on the Arduino.
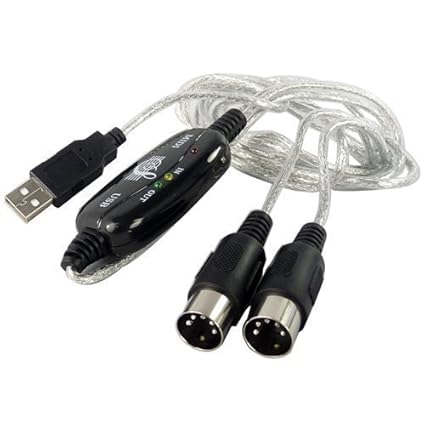
– Midi-to-USB Cable – You are going to need this cable when testing your controller. I’m assuming that you are going to plug your midi controller into a computer. If you are plugging your midi controller into some type of synthesizer, you will want a normal male-to-male midi cable.
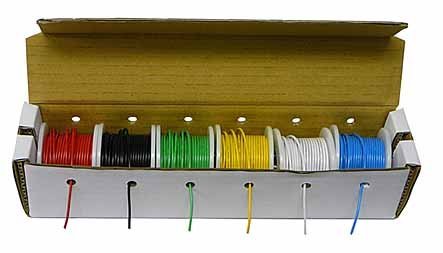
– Wire – I included a link to get a bunch of wire spools for only $20. If you don’t want to buy that much you can find wire in less quantity at your local hardware store. I wouldn’t shop at radio shack. Everything there tends to be overpriced. You might want to buy more wire so that you’ll be set for future projects.
Building It

First off, let’s talk about what each connector does on a midi jack.
In the diagram on the right I labeled each connector as a number 1-5. We will be using connector 2, 3, and 4. Connector 1 and 5 are almost never used for anything.
Connector 2 is the current sync.
Connector 3 is the shield.
Connector 4 is the current source.
You can think of connector 4 being positive, connecter 3 being ground, and connector 2 being the data input.
Here is a wiring diagram I made for this project:
I used an awesome piece of software called fritzing to make the diagram.

As you can see connector 4 goes to the positive 5v and connector 3 goes to ground. Connector 2 goes to serial 1 (TX1).
Don’t forget the resistor!
The code:
I got this code from Arduino.cc. There are a lot of example projects there as well as great beginner information. This code is public domain so feel free to use it in any of your projects.
This code will output midi notes that will go from F#-0 to F#-5. Make sure to connect the midi cable from your midi jack to your computer so you can test.
/*
MIDI note player
The circuit:
* digital in 1 connected to MIDI jack pin 5
* MIDI jack pin 2 connected to ground
* MIDI jack pin 4 connected to +5V through 220-ohm resistor
Attach a MIDI cable to the jack, then to a MIDI synth, and play music.
This example code is in the public domain.
 */
void setup() {
//  Set MIDI baud rate:
Serial.begin(31250);
}
void loop() {
// play notes from F#-0 (0x1E) to F#-5 (0x5A):
for (int note = 0x1E; note < 0x5A; note ++) {
//Note on channel 1 (0x90), some note value (note), middle velocity (0x45):
noteOn(0x90, note, 0x45);
delay(100);
//Note on channel 1 (0x90), some note value (note), silent velocity (0x00):
noteOn(0x90, note, 0x00);
delay(100);
}
}
//  plays a MIDI note.  Doesn't check to see that
//  cmd is greater than 127, or that data values are  less than 127:
void noteOn(int cmd, int pitch, int velocity) {
Serial.write(cmd);
Serial.write(pitch);
Serial.write(velocity);
}
So that’s it!
I hope you found value in this article. If you have any questions about this midi controller build, feel free to leave a comment down below and I’ll get back to you as soon as possible.
Thanks for reading!
Ready to add buttons, knobs, and more?
Check out my next article on Arduino midi controllers HERE.
Leave a Comment
8 comments
Wow that’s crazy! Totally bookmarking this site Lol. Keep up the amazing work man
-Stu
Much Appreciated:) Thank you!
Where do we go from here to adding buttons/sliders and such?
Thanks for your interest! In a week or two I’m going to start writing more arduino tutorials going over how to build a midi controller with buttons, knobs, and even switches. I will also be writing some basic tutorials(uploading code to the arduino, basic circuity etc.)
Code does not work.
noteon is not defined…
It’s good to see that you fixed the problem. May I ask what problem you ran into that caused the code to initially not work? Thanks!
My mistake, code works well. thanks
I’m glad you got it to work! May I ask what problem you ran into that caused the code to initially not work? Thanks!